I love Speciality Cafe and Bakery's Carese Sandwich with focaccia bread. Every time I have their sandwich, I tell myself, I should try to make this bread at home. Well, I had been looking for a good and easy to follow recipe for this bread and found one on Lolo's blog: http://veganyumyum.com/index.php?s=poolish&searchbutton=Go%21
The instructions were very easy to follow, with a picture accompanying each step in making this bread. I followed the exact same recipe, except that I cut it in half.
I was not disciplined enough to take pictures at each step. I used my phone for taking pictures and sometimes I didn't have it with me while I was preparing the bread. Please follow the direction in this post, or visit Lolo's blog for detailed pictures if you get stuck somewhere:)
Poolish is made the night before making the bread. This needs to be fermented overnight.
Herb oil can be made the night before too. This will help get flavors of herb in the oil. You can use any choice of herbs you like. I used fresh basil leaves, and a teaspoon of dried Italian herb seasoning.
Here are the ingredients making the bread and the herb oil.
Ingredients:
Poolish:
1-1/4 Cups All Purpose Flour (Do NOT use self raising flour)
3/4 cups Luke Warm Water
1/8th Teaspoon Instant Yeast
Herb Oil
1/4 Cup Herb Oil
5-6 Fresh Basil Leaves, Chopped
1 Teaspoon Dried Italian Herb Seasoning
Poolish Focaccia Bread:
Poolish
1-1/3 Cups (12 oz) All Purpose Flour
1Teaspoon Salt
3/4 Teaspoon Instant Yeast
1/3 Cup + 2 Tablespoon Lukewarm Water
3 Tablespoon (3 0z) Olive Oil
1/4 Cup Herb Oil
Method for Poolish:
 |
| This is what Poolish looks like when you mix everything together |
Method for Herb Oil:
Heat the oil in a pot at medium-high flame for 2-3 minutes. Turn off the stove. Add the herbs to the oil. Stir well. Let it cool. Cover and set aside.
Method for Focaccia Bread:
Mix the flour, salt and yeast together in a large bowl. Now add the water, oil and poolish. Mix well. Now stir it with a wooden spoon rigorously for 10 minutes. I got tired after just a few minutes, and used my hand to do the same thing. I found it easier than working with a wooden/plastic spoon. The flour is done when it stops sticking the the side of the pan, is very sticky and smooth.
 |
| Before folding |
 |
| Not so good First fold |
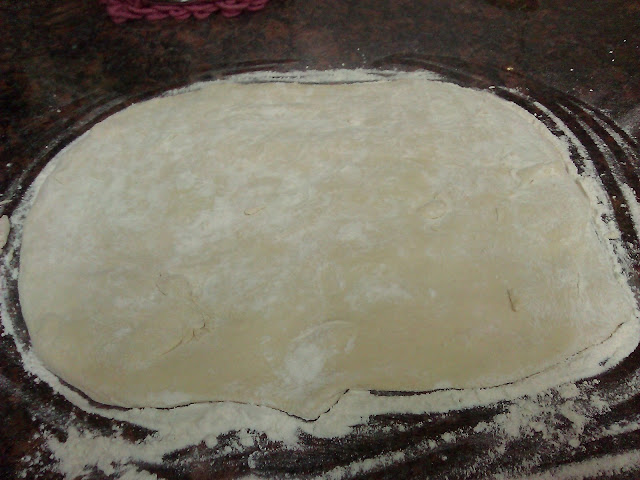
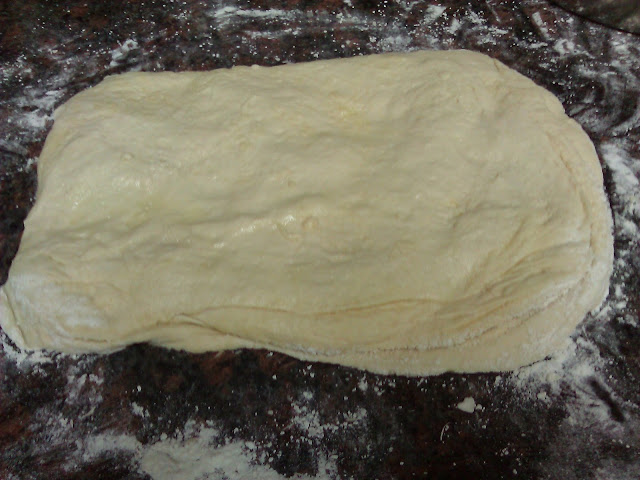
After 30 minutes, stretch and fold the dough again. This time, fold the other sides, which were not folded last time. For example, if you folded the two sides from left and right in the previous folds, fold the top and bottom this time. Keep in mind that we don't want to make smaller pouch each time. We want to keep the same size of the rectangle, so stretch and fold the dough. Spray with oil, cover with plastic wrap and set aside for 30 more minutes. We will be folding the dough one more time.
 |
| Second Fold |
In this hour, the dough will rise, but not necessarily double in size. Prepare a baking sheet (the one with sides) by spraying with cooking spray, and dusting with some flour.
Transfer the dough quickly and carefully onto the baking dish. Now pour half the herb oil on the top surface of the dough. Using your fingertips only, punch the dough and spread the oil all over the dough. Make sure to cover the entire top surface of the dough. Cover with plastic wrap and let it rise for 2 hours. This will be the final time we will let the dough rise.
At the end of the rise, heat the oven to 500 degrees F, and then turn it down to 450 degrees F. After two hours, you will see a lot of bubbles in the dough. Pour the rest of the herb oil on the dough, and punch down the dough and burst as many bubbles you can with the help of your fingertips. You want to make sure that the oil is spread evenly on the dough. Sprinkle lightly with coarse salt. If you don't have coarse salt, you can use the regular granulated salt.
Transfer the baking dish into the oven. Bake for 10 minutes. After 10 minutes, rotate the tray once for even baking. Bake for 10-15 minutes more. Take out of the oven. Let it cool on a cooling rack for 20 minutes. Enjoy as is, or in a caprese sandwich, as I always do:).
 |
| cooling on my makeshift rack |

No comments:
Post a Comment